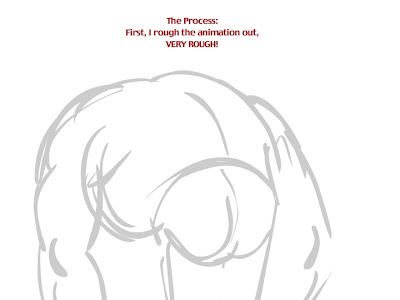
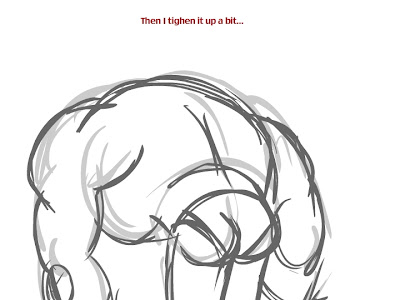
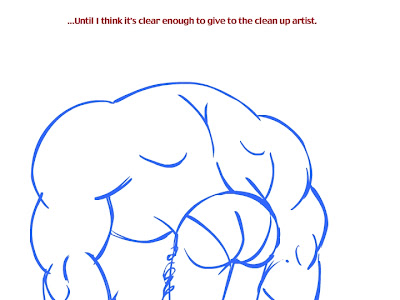
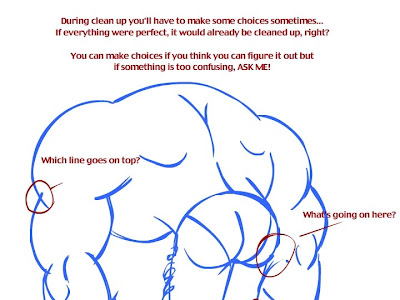
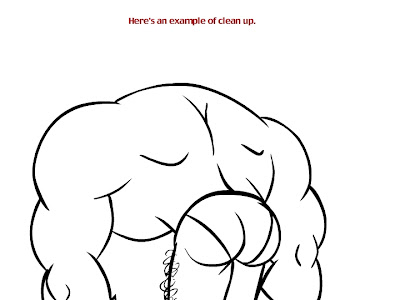
You can see I'm going for a thick, brush stroke kind of line.
You can use either Flash or Illustrator for clean up. We'll just see how it goes.
Some recommendations:
In Flash, you can use Object Drawing mode. This makes each individual brush stroke sort of a group, but not really. That is, it keeps each stroke you make separate from the rest of the paint, so you can grab it and manipulate it individually. But you can also drag the vectors around with the arrow tool, or erase. Give it a try!
Illustrator-
Illustrator has some advantages. You can make a much cleaner stroke, and you can easily manipulate it after you've drawn it with those handy vector bars...
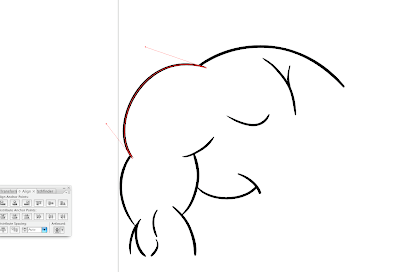 Makes it real easy to nudge your line around until it's juuuuust perfect! Definitely an advantage if you don't yet have a Cintiq. Problem is, I'd say it's much harder to know when it's perfect because you can't step through your frames very easily.
Process-
-Flash
Create a layer above the rough animation for your clean up. Where you need to separate layers, make holds, or convert items to symbols may already be indicated in the rough, but feel free to do these things as you see fit.
-Illustrator
There are probably good tricks for going back and forth between Illustrator and Flash that I don't know. Here's the process I've worked out.
- You'll need to export the rough animation frames from Flash somehow. If there's just a few frames, you can simply export jpgs of those frames. If there's a lot, you might export the whole movie as a jpg sequence. Maybe this is something I'll do for some of you.
- Open a new Illustrator file. Dimensions don't really matter
- Select Cmd+1. This centers your stage and makes it fit on your screen. This is important for registration
- Select File/Place... and select the first rough jpg. I like to lock the layer so I don't accidentally draw over it or move it.
- Create a new layer for your ink.
- Set your brush settings. You probably want between a 3pt and 6pt brush, depending on how small and detailed the drawing is. And you want to make the diameter pressure sensitive. That's what makes your line taper. You can set that by double clicking a round brush in the brushes window.

- You can also adjust the "fidelity" which affects how many anchor points are made. A low fidelity number has fewer points and acts kind of like "smoothing" in Flash. Good for long strokes like in my sample. The higher the number, the more closely the stroke you make is going to follow the wiggles of your stylus by adding lots of points. You'll want a higher fidelity for drawing things with more detail like faces. You can find that dialog box by hitting enter when you have the brush tool selected.
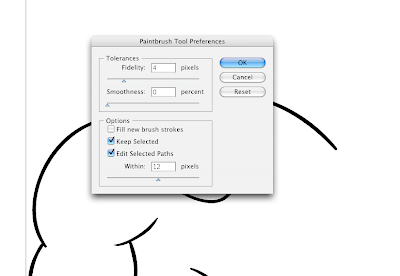
- Clean away! Create new layers for each rough and a layer above it for the ink. Remeber to hit Cmd+1 before you do, or your jpg lands in a different place!
- Here's the coolest thing! You can export a swf directly from Illustrator. When you've cleaned up your scene, hide all the rough layers so they're not included. Make sure visibility is on all your ink layers. Then select File/Export... and select Flash(swf) from the format options. Under the Export As drop down menu, select AI layers to SWF frames.
- You can then import the swf you just made into Flash. All your nice clean vector artwork is there and registered! You find each stroke you made in Illustrator will be a group, so I usually do a big edit multiple/select all/break apart.
Here's a lot more FANTASTIC information about inking from John K's blog:
http://johnkstuff.blogspot.com/search/label/inking
Let me know if you have any questions! Assignments going out soon!
